HOW IT WORKS – STEP BY STEP
Before making your insole, we analyse your feet using the Balkefors Ortopedic mirror box. Based on the results of the test, we determine how we will treat you for your specific problem. All those working with our patented sole have completed our internal education/training. Each participant receives a diploma upon completion of the course and is thus certified. What follows is a detailed list of the systematic steps necessary to finding a definitive solution.

Step 1
Set the heating machine to approximately 100-110 degrees (Celsius). Place silicon paper between the insole and the hot plate, if needed. Heat the insole for approximately 4 minutes. Make sure that it is soft and flexible. Once the insole has the consistency of a waffle, it is ready for moulding.
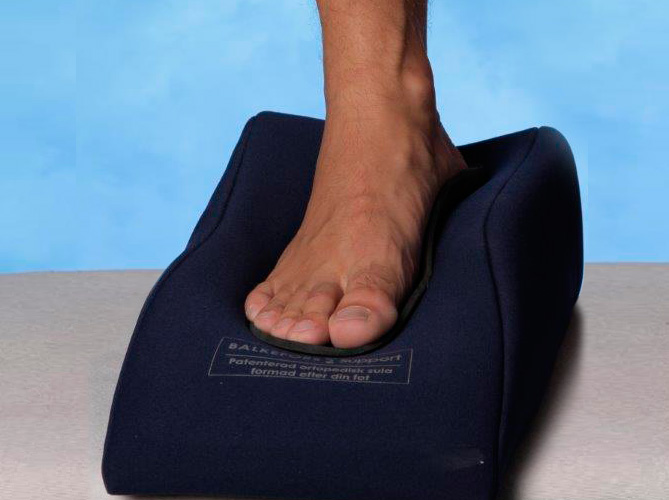
Step 2
Place your foot onto the heated insole. Make sure that your forefoot is placed in the middle of the insole. Press your foot into the form cushion. In order to get a more stable position, approximately 10% of your weight should remain on your other leg. Shift your weight by turning your knee or by pressing your foot into a more supinated position.
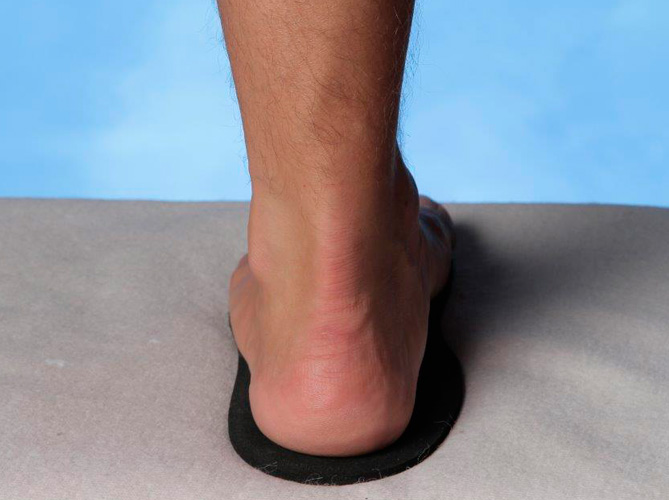
Step 3
Place your heel approximately 10 mm in from the back edge of the mould plate. In this position, your foot will form a deep and stable heel cup.
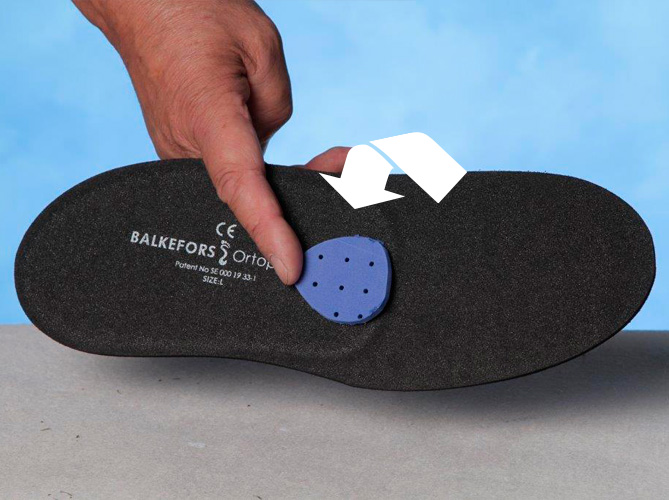
Pad
Attach a pad to the bottom of the insole in a position you find comfortable. Make the mould in the usual manner. Press the pad into the insole to make an indentation.
Correction wedges
If needed, you may add glued correction wedges, e.g., to the forefoot or heel.
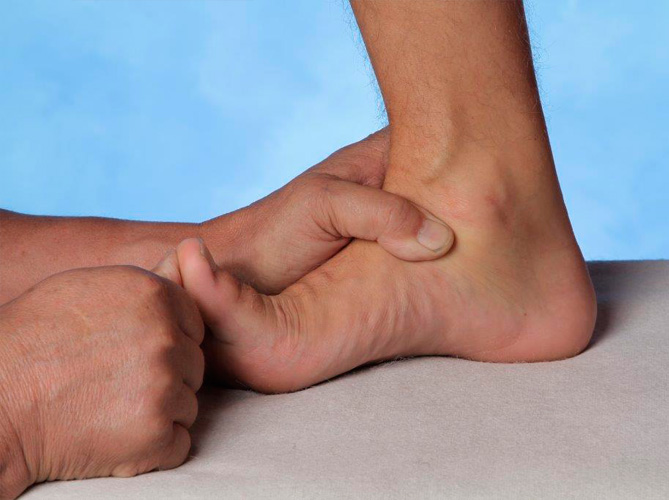
Step 4
In order to find a neutral foot position more easily, you may flex your big toe (see illustration). This method can be especially helpful if the patient is flatfooted (pesplanus) or overweight. The flexing provides a higher arch as the tendon sheath/muscles under the foot are compressed.
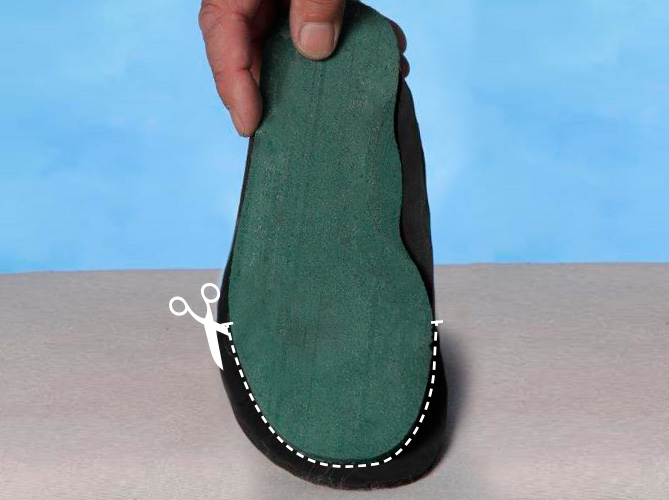
Step 5
Remove the insole from the shoe in which the insert is to be placed. Use this insole as a template. Place the insole from your shoe onto the moulded insole. Draw along the edges. Cut the front part of the insole at the marked line.